How to Make Chocolate Vodka at Home
Super simple (and delicious) homemade chocolate vodka.
A Simple Recipe for a Delicious Chocolate-Infused Vodka
Infusing spirits is a great and classic way to add the essence and flavor of fruits, botanicals and many other items right into your favorite base alcohol. There are many ways to infuse alcohol, but I find that simpler is better for certain things. If you are looking for a simple chocolate vodka recipe that you can do at home, this is the one for you.
How to Make a Delicious Bottle of Chocolate Vodka
I've seen many ways to infuse chocolate into vodka and many chocolate vodka recipes (some are far more involved than others), but I prefer this very simple way over many other methods you can find online. The entire process takes 10 to 14 days to complete. This is how I do it.
This chocolate vodka recipe involves no heating or fancy equipment and creates no mess. At the end of the process you will have a delicious chocolate-infused vodka that's perfect for a chocolate martini or any other way you want to use it.
From a technical spirits perspective, this is known as the cold method of flavor extraction through maceration. It is most often used for extracting flavor from botanicals, where heat would otherwise harm the botanical and/or alter the flavor (you can also macerate with heat). However, the cold method works very well for chocolate, since the goal is not to melt the chocolate into the vodka, but rather to infuse its flavor while keeping the chocolate chips basically intact.

Aside from a bottle of clear vodka, the ingredients are pretty basic.
What You Will Need to Make Chocolate Vodka
One 750ml/26oz bottle of clear vodka (I recommend your favorite call brand, such as Smirnoff, Ketel, Absolut or similar)
Milk Chocolate Hershey Chipits (approx. 250 g or 9 oz)
Dark Chocolate Hershey Chipits (approx. 225 g or 8 oz)
A wide mouth clear plastic container with a lid (something like a pasta storage container from the dollar store)
Cheesecloth for straining
A funnel to return the vodka back to its original bottle when done
Infusing the vodka by this method basically means letting the chocolate chipits sit in the vodka so that the flavor imparts into the vodka naturally over time.

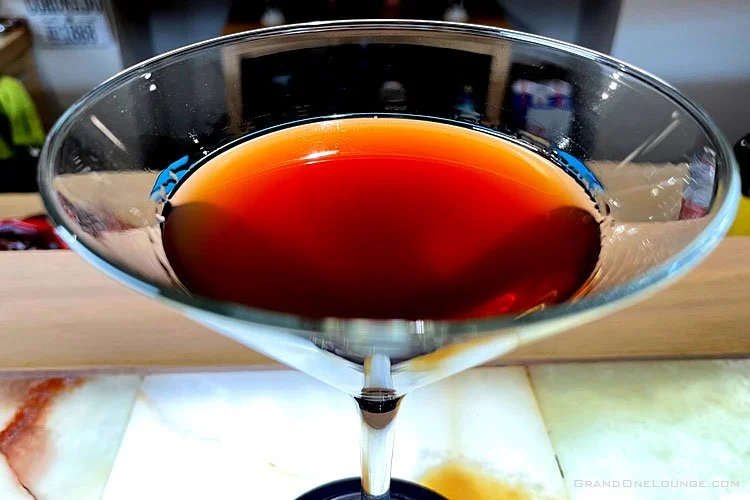
A stunning chocolate martini. Pure and elegant, with a mint chocolate stick for garnish.
Here's My Process to Make Chocolate Vodka
Pour the entire bottle of vodka into the clear plastic wide-mouth container. Save the original vodka bottle as you'll use this at the end to store your chocolate vodka.
Then pour the entire 250 grams of milk chocolate chips into the vodka. I use Hershey Chipits and the end result is phenomenal.
Stir the chips in the vodka a few times and then put the cap back on the container and let it sit in a cool dark place for five to seven days. Every two days, open the container and stir it around a bit to ensure good coverage of the chips in the vodka. The chips will remain mostly intact throughout the process.
After five to seven days (you be the judge by how the mixture is looking and smelling) pour out the vodka into a clean container (you will just need this container temporarily), straining it through a layer or two of cheesecloth to separate the liquid from the milk chocolate chips.
At this point the vodka will look cloudy and light, probably not very appealing -- like dirty water. Don't worry, we are only halfway through. Wash and dry the original wide-mouth container for the next step.
Pour the vodka back into the clean wide-mouth container and this time add the full amount of dark chocolate chipits. Follow the same process as before, stirring it up a little and then letting it sit for five to seven days (mixing occasionally every couple of days).
On approximately day 10 to 14, your infusion will be complete. Open the wide-mouth container and strain it through cheesecloth to separate it from the dark chocolate chipits.
Once you have removed all large/obvious pieces of chocolate, use a funnel and pour the vodka back into its original bottle. At this point the color should be much darker and you should get a nice chocolate smell. Go ahead and taste it if you wish to ensure it's what you were after.
Let the bottle sit in the fridge for a day so that any remaining small sediment can settle on the bottom of the vodka bottle. Then carefully (don't shake up the bottle) pour it through two or three layers of cheesecloth to strain it once again so that you have a sediment-free finished product. Don't pour to the very end of the bottle, as that is where much of the sediment will be -- on the bottom. You want to leave that sediment behind I tend to sacrifice this final half ounce or so by dumping it out and then rinsing the bottle clean.
Return the strained chocolate vodka to the original bottle and you are all done. Chill and enjoy your new chocolate-infused vodka.
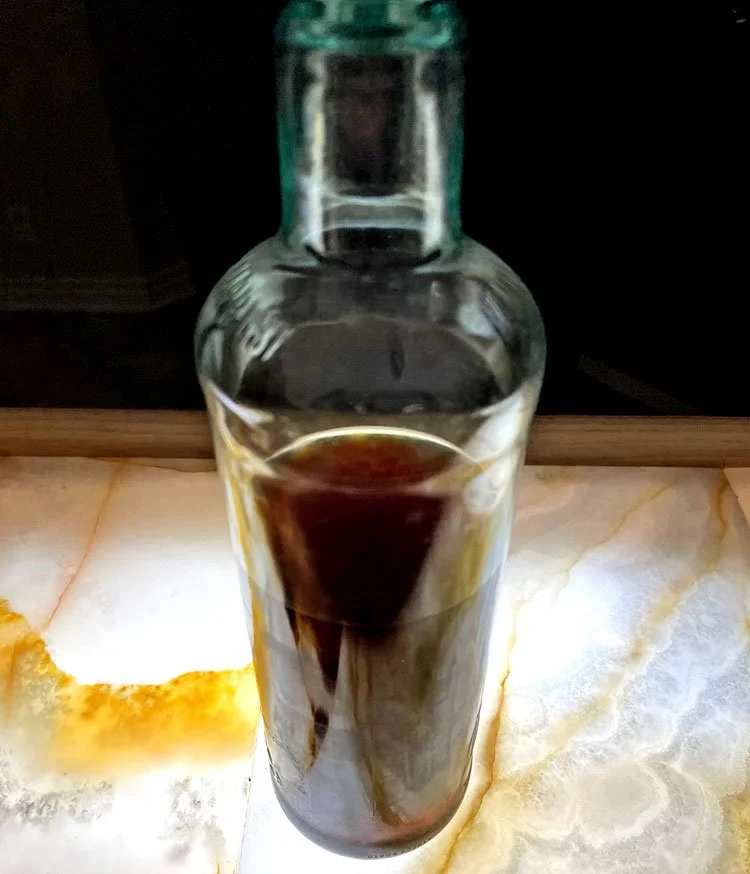
The finished chocolate vodka, back in the bottle.
Through this Method You Get All the Chocolate Flavor without the Sweetness
I like this method because you get a delicious and elegant chocolate vodka that is not creamy, over-sweetened or otherwise compromised.

This chocolate vodka is easy to make, but your guests don’t need to know that.
It’s much more versatile to have a true chocolate-flavored vodka that is still a base spirit. You can drink it straight for the ultimate chocolate martini (not a creamy oversweetened version), or you can add sweeteners, cream or cream liqueurs, or use it in any way you like.
By Mike Belobradic
Wine, Spirits and Beer Virtuoso
Grand One Lounge